
I became your enemy because I tell you the truth
“You can fool some of the people all the time and all the people some of the time, but you can’t fool all the people all the time.” A. Lincoln
Thursday, April 28, 2022 by: Divina Ramirez
No homestead is truly off-the-grid if it doesn’t have a rainwater collection system in place. Rainwater collection is the practice of collecting or harvesting rainwater into an easily accessible container for cooking, washing, bathing or gardening. As such, rainwater collection is an easy way to reduce water usage on the homestead.
However, successful and sustainable rainwater collection requires more than just leaving a barrel outdoors and waiting for it to fill up.
Read on to learn more about rainwater collection. (h/t to CommonSenseHome.com)
Why collect rainwater
Unlike well water and treated water, rainwater is naturally soft. This means it is free from dissolved salts of calcium, iron, magnesium and other metals. Those salts, which are present in hard water, form unsightly deposits on kitchenware. Though not a health risk, hard water can be a nuisance because of those buildups.
If you live on a homestead, collecting rainwater is not only a wise decision but a necessary one as well. One rain barrel can contain enough water for a 200-square-foot garden. Rainwater can also be used for livestock and for washing, cooking or bathing purposes. When filtered and purified, rainwater can even be consumed.
Harvested rainwater is especially good for irrigation because groundwater and surface water are often very high in salt, which can be problematic for plants. In contrast, rainwater does not contain salt even if it evaporated from the ocean. Plus, rainwater contains natural fertilizer in the form of nitrogen.
Aside from reducing water usage, collecting rainwater ensures you have clean water in case of a drought. A rainwater collection system also ensures you have water in case of emergencies that compromise your access to municipal water supplies and electricity.
In fact, some rainwater collection systems can be set up so that they can be a water source if the power goes out during a disaster or emergency.
Municipal water can also be expensive, especially in the summer. Collecting rainwater is basically a way for you to get water for free and save money.
Practical considerations when collecting rainwater
Rainwater collection is legal in the United States. However, the rules on how you collect rainwater and how much you can collect vary by state. Some states have specific laws in place limiting rainwater collection and use. It is best to check your local regulations before investing in a rainwater collection system.
States with rainwater collection regulations include:
- Arizona
- Arkansas
- California
- Colorado
- Illinois
- Nevada
- New Jersey
- North Carolina
- Ohio
- Oklahoma
- Oregon
- Texas
- Utah
- Virginia
- Washington
Once you have verified the rainwater regulations in your region, determine how much water to collect. One square foot covered with water an inch deep equals around 0.62 gallons. This means that the amount of rainwater you could harvest from a 1,000-square-foot roof from an inch of rain is up to 623 gallons.
However, due to splashing and other losses, a more realistic number is 550 gallons of rainwater harvested per inch of rain per 1,000 square feet of collection surface.
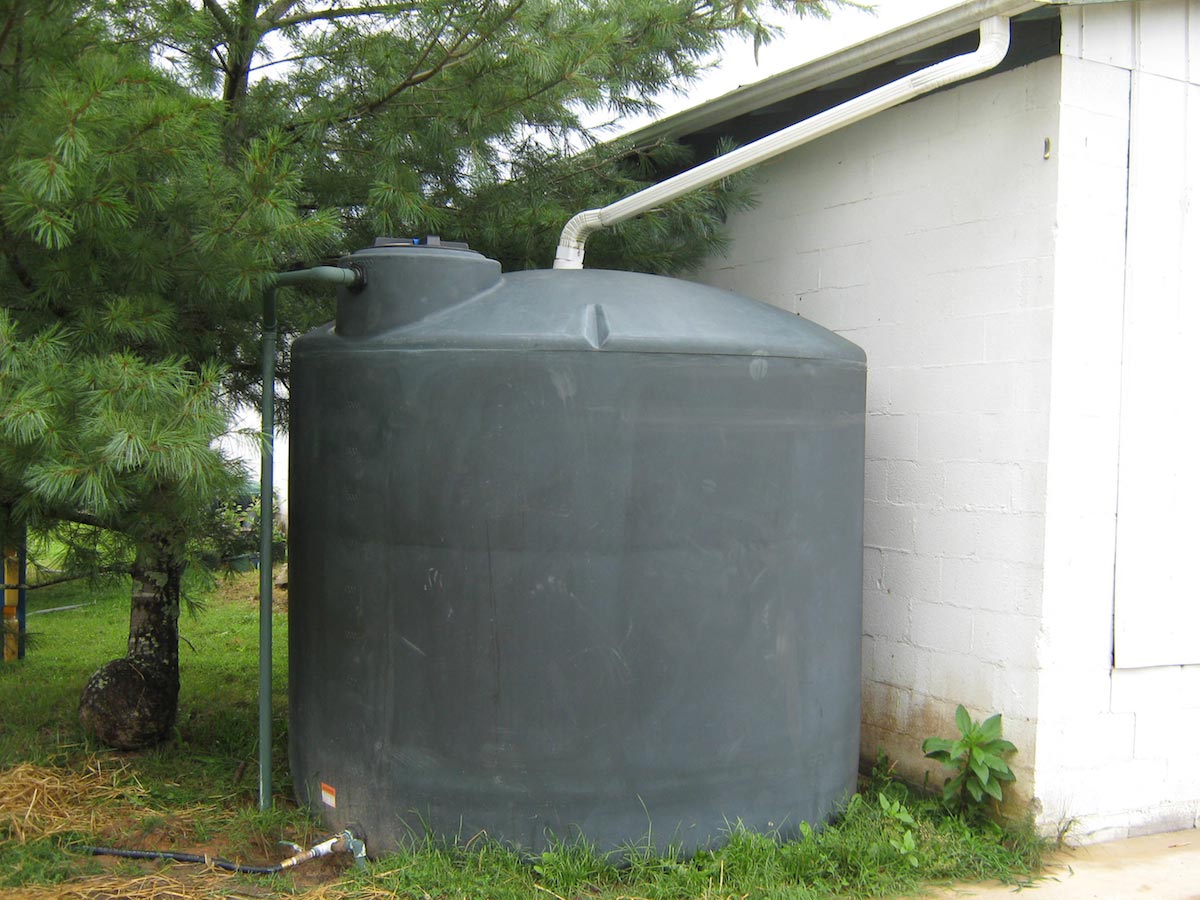
A strong rain can easily fill one barrel, so make sure you have enough containers for the rainwater. You can collect rainwater in all kinds of containers. But no matter the size or shape of your container, it should have the following elements:
- Inlet – This will direct rainwater into the container. It should be on top of the container.
- Outlet – This will allow you to dispense and use the collected rainwater. It is typically near the bottom of the container. For large tanks, you can make an outlet using a hose and a hose bib.
- Opaque material – Your container should be made of an opaque material to keep sunlight out. Otherwise, algae may thrive in the water. Alternatively, you can cover the container with a heavy tarp.
- Fine-mesh screens – Having fine-mesh screens in place over the inlet and outlet of your container will help prevent the entry of insects, pests or debris.
A gravity-fed water system is used to pull water from creeks, rain barrels, springs, streams and rivers upstream or uphill from the water source.
Gravity-fed water systems are simple, but you may have trouble using them under certain conditions:
- The distance the water has to flow to reach its destination point.
- The slope of the incline that determines how fast and how easy the water flows.
- The size of the pipes you use and if they have to interchange.
- The number of side extensions that will be used?
- The type of terrain the system is used to.
The guide for this gravity-fed, off-grid water system is from “The Doable Off-Grid Homestead,” an off-grid reference book.
DIY gravity-fed water system
Before setting up your gravity-fed water system, plan ahead and build a high enough roof so that the bottom of the tank is above your water input level, like your sink or bathtub.
You will need:
- Dirt
- Drill
- Level
- 12 to 14 grade stakes
- 1/4-inch (6-mm) thick plywood
- 1/2-inch (13-mm) screws
- 3/8-inch (9.5-mm) rebar
- 20 to 25 (80-lb [40-kg]) bags or ready-mix concrete
- 1,500 to 3,000-gallon (5,678 to 11,356-L) water tank
- Solar water pump, optional
Creating the platform for the tank
Build your water tower at a slightly higher elevation than where the water output is going, like the kitchen sink. When deciding how high to elevate the tank, keep in mind that the tank must be below the level of your roofline if you are directly catching rainwater into it.
You should also check your water pressure requirements. If you have fairly low water pressure, you can fill containers fairly quickly by using a larger-volume pipe. If this is something you want to try, you can reduce your water tower height considerably.
Level the dirt pile out and prepare a form by staking out a circle that is at least six to 12 inches (15.2 to 30.4 cm) wider in diameter than your tank. Pound in the stakes around the outside of this circle.
Cut the plywood into strips, six inches (15.2 cm) tall. Shape these inside the stakes to form the outer edge of the circle.
Screw the plywood into the stakes so that the tops of the plywood strips are level. Add rebar for extra strength if you want to.
Next, mix the concrete. Follow the manufacturer’s instructions and pour a smooth, level slab inside the form.
Let the concrete dry and cure completely before moving the empty water tank to the platform. Protect the hill from erosion and the tank from sun exposure by placing a small roofline over this tank.
If you have a pump-assisted gravity-fed water system, install a solar-powered water pump. Use this to pump water from other catchment tanks up to the elevated tank when the upper tank runs out of water.
Piping the water into the house
Run a 3/4-inch (19-mm) PVC pipe from the water tank to your laundry sink faucet. You can also conserve water by setting up a regular faucet in the kitchen sink that is suitable for handwashing due to its low flow rate. (Related: 4 Tips to prevent emergency water from freezing.)
For a smaller-scale water tower, create a 12-foot (3.6-m) platform using 4x4s. Elevate one or two 55-gallon (208-L) food-grade plastic drums and pump or manually move water to these drums every few days.
With this setup, whether you have a large volume water tank or a 55-gallon drum, it should be able to provide gravity-fed water in a sink or two.
This system takes a while to set up, but it’s worth it if you want to save time and effort hauling water from a water source to your home.
Make it easier to haul water on your homestead by setting up a gravity-fed water system.
Watch the video below for tips on how to control seasonal runoff on your homestead.
This video is from the Vermont Rocky Meadow Farm channel on Brighteon.com.
More related stories:
Prepping 101: How to store water for emergency preparedness.
Water supply and prepping: A beginner’s guide to rainwater collection.
Prepping 101: How long will bottled water last in your stockpile?
Sources include:
All it takes for Evil to triumph is for good people to do nothing
Michael Loyman